Creating the LWUIT MIDlet project
-
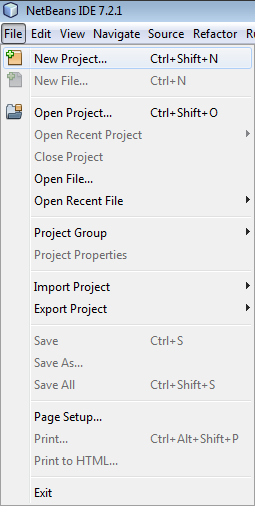
Navigate to File > New Project in Netbeans.
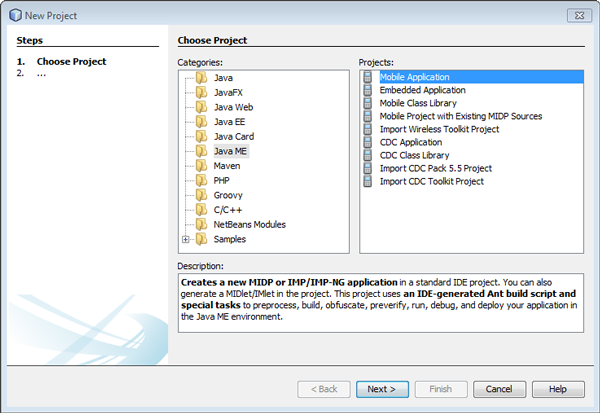
The Choose Project page in New Project wizard is displayed
-
Select Java ME in the Categories pane and Mobile Application in the Projects pane. Click on Next.
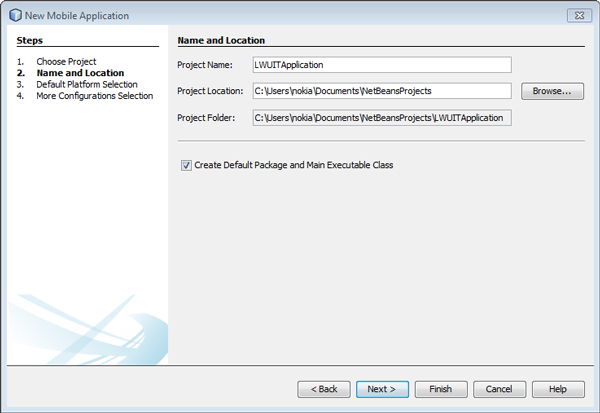
The Name and Location page is displayed.
-
Type a Project Name and browse to set the folder for Project Location. Click on Next.
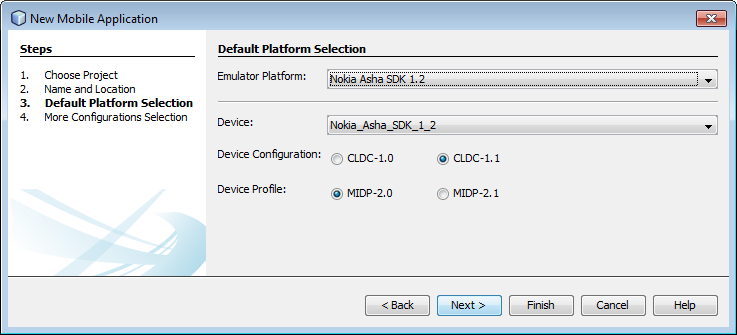
The Default Platform Selection page is displayed.
-
Select the required SDK platform in Emulator Platform and the required device in Device. Leave other options as it is and click on Next.
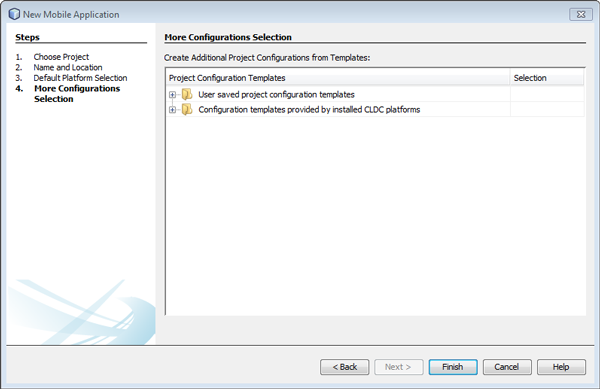
The More Configurations Selection page is displayed.
-
Leave all options as it is and click on Finish.
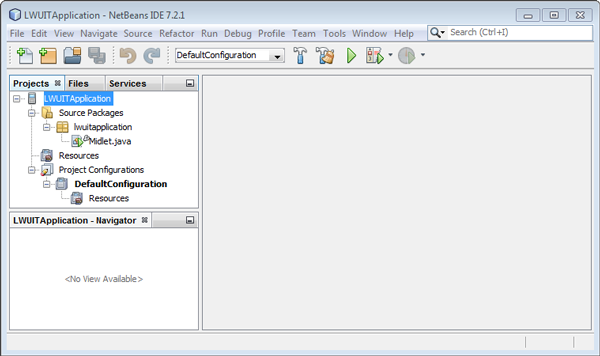
The LWUITApplication project is created.
-
Add the LWUIT for Nokia library package and configure it for LWUIT development:
-
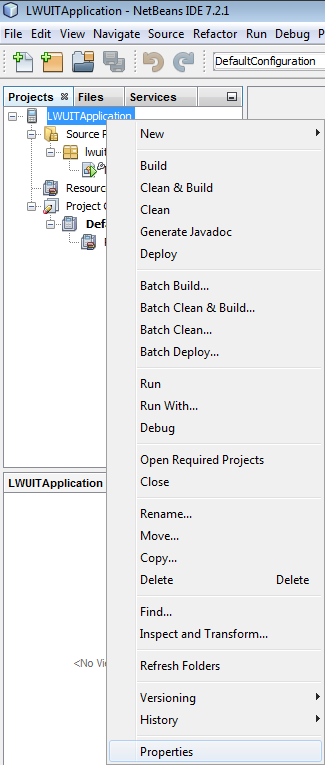
Right-click on the LWUITApplication folder and click on Properties.
The LWUITApplication dialog box is displayed.
-
Navigate to Build > Libraries & Resources in the Category pane. Click on Add Jar/Zip and select the required LWUIT for Nokia JAR file.
Note:There are a number of different versions of LWUIT JAR files to choose from. For more information on different JAR files options, see the readme.txt file in the LWUIT binary package.
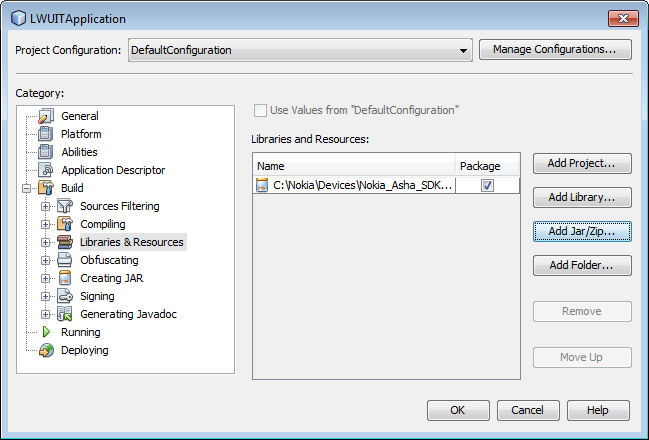
The selected LWUIT for Nokia library appears in the Libraries and Resources pane.
-
Ensure that the Package column is selected. Click on OK. Your project is ready for LWUIT development.
-