Using the UI resource file in your application project
There are two ways of adding the created user interface into the application project:
Letting the Resource Editor wizard create a new NetBeans project that contains the created UI
Adding the UI manually to an existing application project (works for Eclipse and NetBeans)
Generating the NetBeans project in the Resource Editor
Generating the project
The Resource Editor has a wizard that creates a new application project to which the user interface is added. This works only with the NetBeans IDE. There are certain important things to remember when this approach is used.
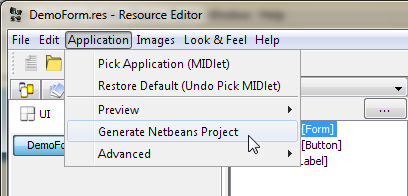
In Resource Editor, from the Application menu, select Generate Netbeans Project
.
In the Please Pick Main Screen dialog, select DemoForm and click OK.

In the Enter Name for Project dialog, specify a name for the project and click OK. For example, DemoProject.
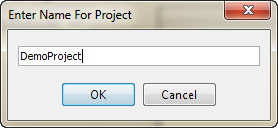
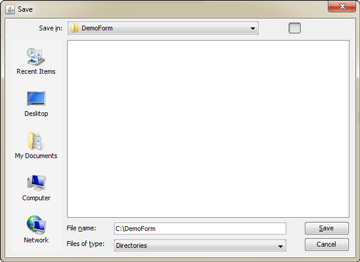
Select the target folder to which you want to save the DemoProject.
After this, you might get several error messages about Netbeans not found and so on. You don't have to worry about these. They are displayed because Resource Editor tries to open the project automatically but cannot find the Netbeans executable.
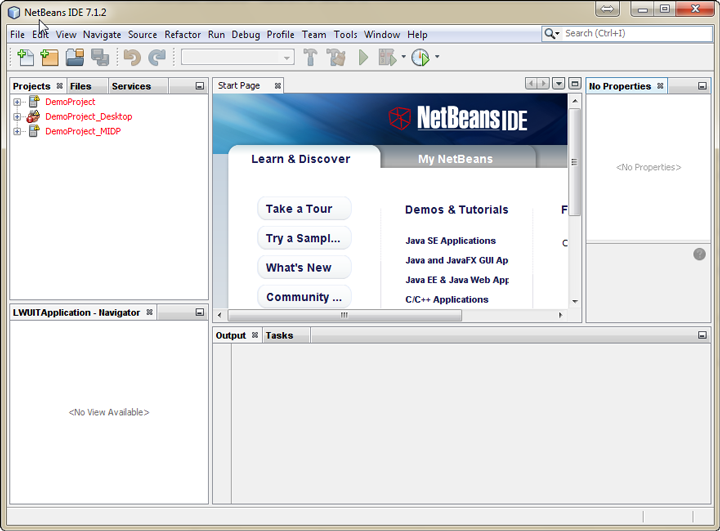
Note: During the first-time use it may easily happen that you have generated the project before having configured
Netbeans.exe to ResourceEditor. In this case, 4 INSTANCES of Netbeans will be
launched. Close the projects in NetBeans, close all the instances,
and start a single instance of Netbeans. The desktop version of the DemoProject might still be open. Close that one as well
and follow the instructions in following section.Opening the project in Netbeans
In NetBeans, from the File menu, select Open Project and select the DemoProject that you created earlier.
Also open the MIDP version of the project called MIDP.
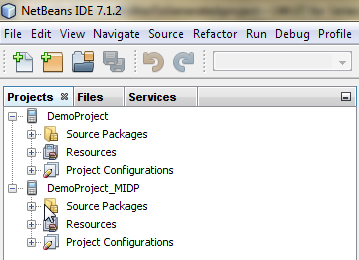
Right click on the project and select Properties.
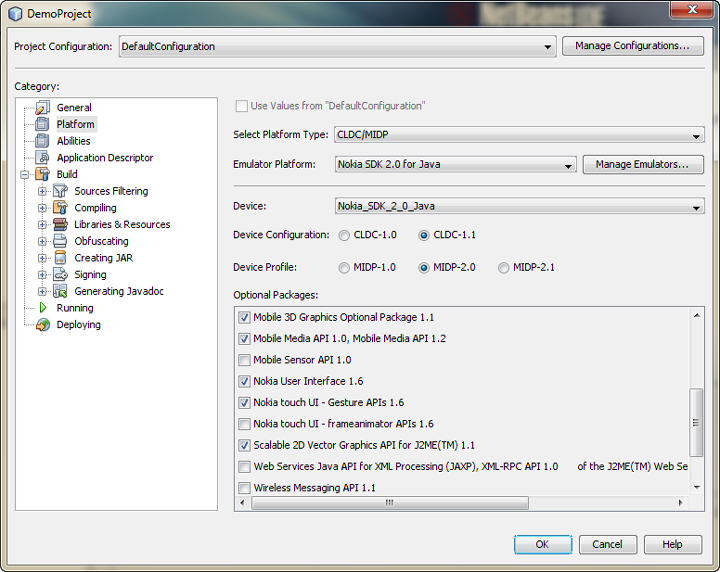
- Under the Category pane, select Platform and ensure that the following packages are selected in the Optional Packages section:
Nokia User Interface 1.1
Gesture API
Mobile Media API 1.0
Scalable 2D Vector Graphics API
After these adjustments you should be able to build the MIDP project and run it on the emulator.
Adding GUI resource file manually into your project
Alternatively, you can load the GUI resource file yourself to your LWUIT project. This is the only way to use GUI resource files if you are an Eclipse user.
First, save your .res file in the Eclipse project's \res folder. To load the .res file you have to use
the UIBuilder class. Add this piece of code to your application:
UIBuilder b = new UIBuilder();
b.setResourceFilePath("/gui.res");
Form f = b.showForm("TestForm", null);
In the showForm() method give the
name of the form you want show. To get a component from the Form,
you can use the findByName() method. In the example
below we get a Label component and change its text:
Label lb = (Label)b.findByName("Label", f);
lb.setText("Changed text");