Integrating SDK documentation to Carbide.c++
If you have installed Carbide.c++ prior to installing the SDK, the SDK documentation set will be automatically integrated into the Eclipse Help when installing the SDK.
If you have installed Carbide.c++ after installing the SDK do the following to integrate the SDK documentation to the Carbide.c++ IDE Help:
Close the SDK.
From the Windows Start menu, open the Control Panel.
In the Control Panel, open Add or Remove Programs.
Locate the SDK in the list of installed programs and click Change.
The SDK InstallShield Wizard is opened.
In the SDK InstallShield Wizard Welcome dialog, select Modify and click Next.
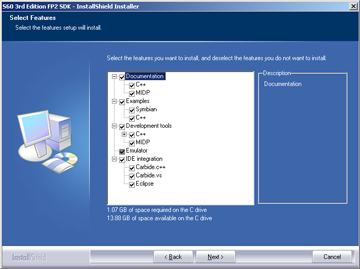
The Select Features dialog is displayed.
In the Select Features dialog, click Carbide.c++ under IDE integration and then click Next..
In the Maintenance Complete dialog, click Finish.
If you have more than one SDK installed, select a default SDK in the Select default device dialog that is displayed and then click Next.
Close the Add or Remove Programs dialog.
The SDK Help and C++ API documentation are now accessible through your Carbide.c++ IDE Help. You can verify this by selecting Help > Help Contents from the Carbide.c++ menu bar.
