Creating a new project on Eclipse IDE
To use the SDK with Eclipse:
Create a project in Eclipse
Import the MIDlet source code into the new project.
Create a MIDlet package, which includes the JAD and JAR files that you can test on the SDK.
To create a new project that contains your MIDlet:
Open Eclipse Indigo application.
From the File menu, select New and then click Project from the corresponding submenu. A New Project view appears.
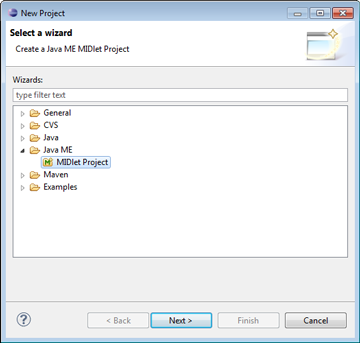
Figure: Creating a MIDlet project
From the menu tree, select MIDlet Project under Java ME.
Click Next. The Create a MIDlet Project view appears on New MIDlet Project window.
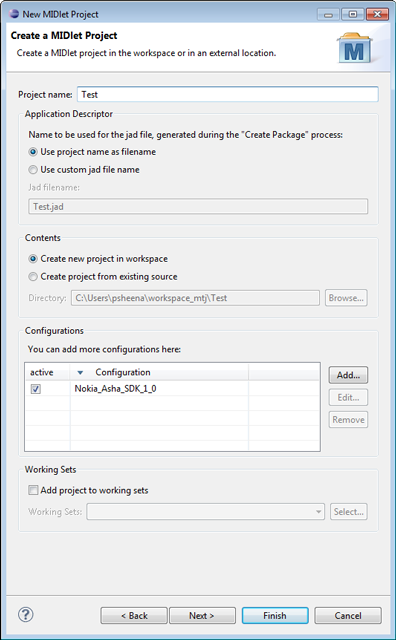
Figure: Adding the project name
Enter Project name and select appropriate options.
Click Next. The MIDlet Project Content view appears on New MIDlet Project window.
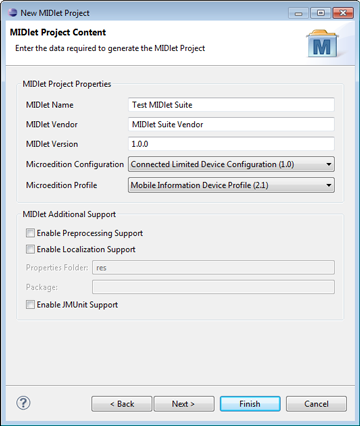
Figure: Generating MIDlet
Under MIDlet Project Properties section:
Enter MIDlet Name.
Enter MIDlet Vendor.
Enter MIDlet Version.
Select Microedition Configuration from the dropdown menu.
Select Microedition Profile from the dropdown menu.
Under MIDlet Additional Support section, check the appropriate options.
Click Next. The Select a Library view appears on New MIDlet Project window.
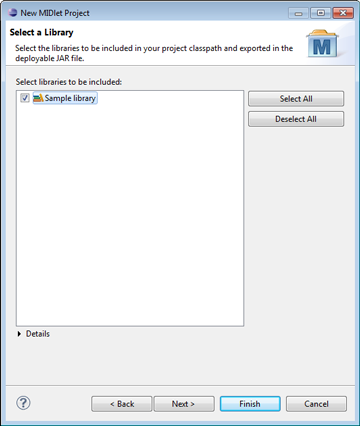
Figure: Selecting the library
Select Library to include and then click Next. The Java Settings view appears on the New MIDlet Project.
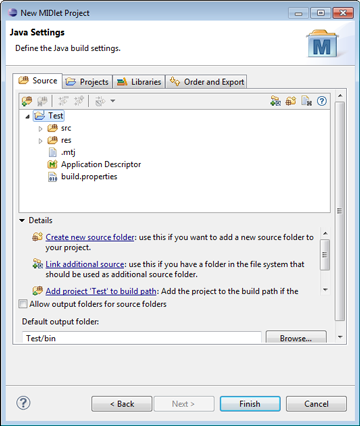
Figure: Java Settings
Click Next. Make sure the Java settings for Source, Projects, Libraries, Order and Export, and Default Output Folder are as needed for the project.
Click Finish to create the project. The name of the new project appears in the Package Explorer window.